The coat will probably be not warm enough for winter, but is great for autumn and spring.
 The coat will probably be not warm enough for winter, but is great for autumn and spring.
 winter - I used paper, fabric, lutrador, buttons, felt, paint, batting, punchinella:

 postage due - collaged papers and stamps:
 Autumn trees is the theme of one of the ATC for all swaps I am participating in. I made these atc's using gift paper printed with fall leaves on which I painted trees using black paint. A little green was added to finish it. One swap completed, 5 other ones still to do :-)
 And on this one you can see a detail of it:
 I intend to quilt the background with black thread and out line the shapes of the leaves and sprouts. All templates were made from transparency sheets. Setacolor white opaque and pearl simmer were used as paints. In the background the discharged leaves are still very subtle visible.
 I had to change which material to use, cause I still wanted to work with this fabric. This time I used Setacolor white opaque and a white shimmer and again the same fern leaves:
 This time no ghost, but a visible print :-). At the moment it looks a bit empty, but more fern leaves will be added. The total size of this piece of fabric is 32"x60".
 This purple/pink sunprint got a layer of 3 different fern leaves. Each leave pattern was cut out of a transparency sheet with an Exacto knife. The sheets were taped to the screens with wide cellotape. The leaves look similar, but are slightly different. This fq was screen printed in different layers. For each layer I used different color combinations of Setacolor transparent paints.
 This same design I have used on a black H200 fabric as well. This time with discharge paste instead of paint. I am guessing that my discharge paste was too old because the design showed up only very pale. Almost like a ghost :-). I will mix some fresh thiox and see how the results are than. Expect more pictures in a couple of days.
 On these strips I placed my screen and pulled Setacolor transparant paint with a squeegee. I used a blue and green shimmer for this. The fabric was big enough to reposition the screen several times. With the third print two strips of paper had let go and I placed them on the screen again. Only upside down!! I saw this when I had made a fourth print with it. You can see it in the top row. Instead of a non printed strip, there are two printed strips next to each other. When I saw this, I cursed. Did I ruin a pretty fabric??
 Fortunately not! When I turned the fabric around I saw that the printing had seeped through to the other side of the fabric. Luckily the two paper strips which were positioned wrong did not have enough paint on them so that had not penetrated through.
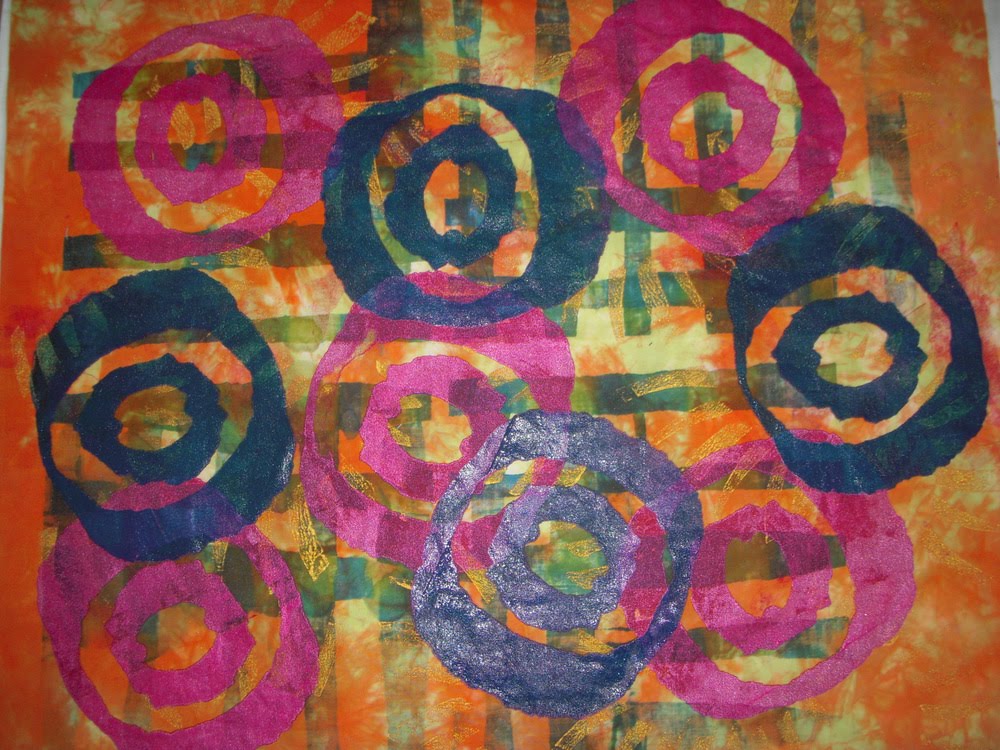
 The fabric was saved and I could continue working with it. I added several prints using torn paper circles in circles. I don't know yet how I will be using this piece of fabric, but I love it!